A Gothic Holiday DIY Guide
Time to get your Christmas wreaths ready! If you don’t want to buy one you can simply make it yourself!
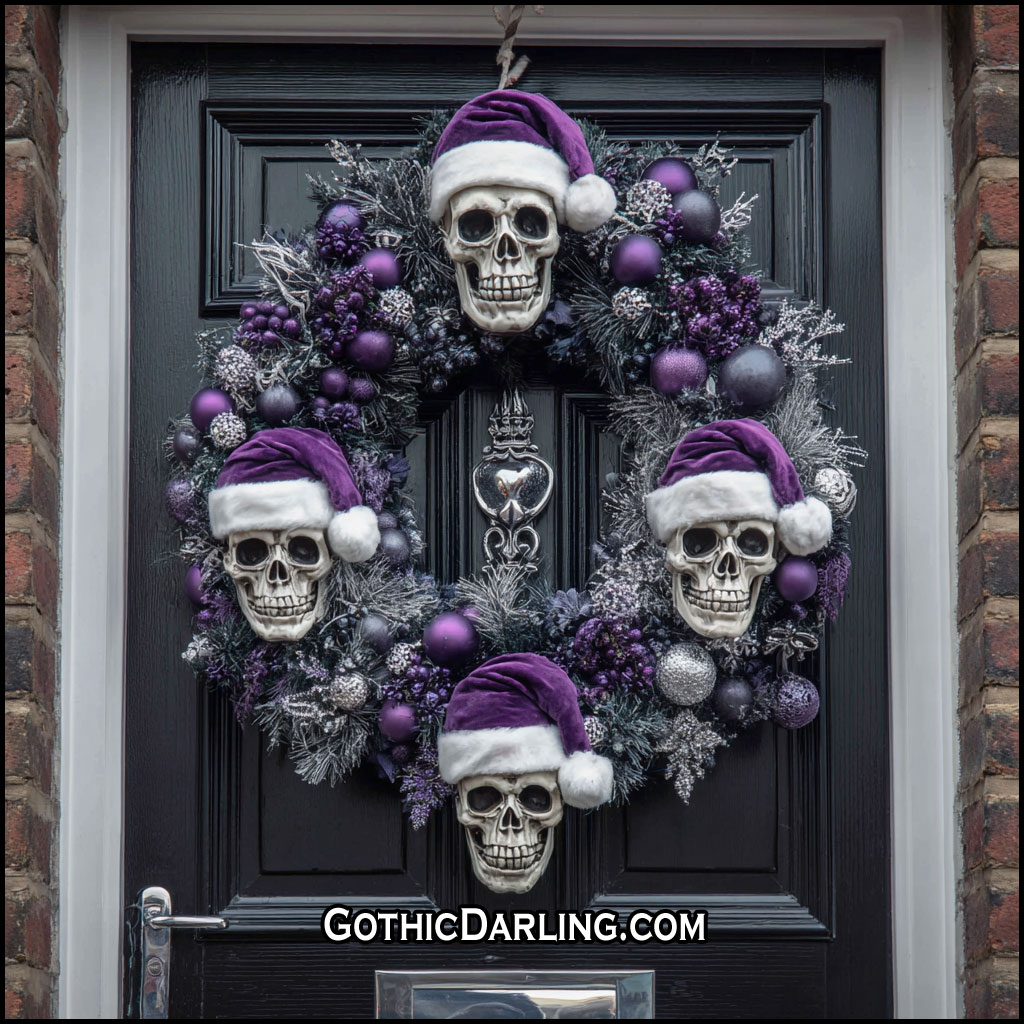
Find a Skull Wreath On Amazon #ad
If your style leans more toward the macabre, bold, and beautifully gothic, a skull-themed Christmas wreath is the perfect way to welcome guests into your home. Whether you prefer black roses, glittery skulls, or shimmering red accents, this wreath is a simple DIY project that transforms your front door into a spooky winter masterpiece.
What You’ll Need
Here are the essential materials to build your dark and dazzling skull Christmas wreath:
1. Wreath Base
- Black or evergreen wreath (grapevine, wire, or faux pine)
- Choose black if you want a fully gothic look
- Choose evergreen if you want a spooky spin on a classic holiday wreath
Find Wreath Making Supplies on Amazon #ad
2. Skulls
- Mini resin skulls
- Glitter skull ornaments
- Foam craft skulls
- Optional: one large statement skull for the center
Get Skulls for Wreaths on Amazon #ad
3. Ornaments
- Red, black, white, or metallic ornaments
- Matte or glitter finishes
- Mini ornaments to fill gaps
- Specialty gothic ornaments (bats, ravens, bones, coffins)
See Ornaments for Wreaths on Amazon #ad
4. Floral Accents
- Black roses
- Deep red roses
- Burgundy peonies
- Black glitter branches
- Faux holly, pinecones, or winter berries (black or red)
Flowers for Wreaths on Amazon #ad
5. Ribbon & Bows
- Black satin ribbon
- Velvet red ribbon
- Spiderweb lace ribbon
- Consider making a large gothic bow for the top or bottom
Find Bows & Ribbon for Wreaths on Amazon #ad
6. Lighting (Optional but Magical)
- Battery-powered LED fairy lights
- Red, purple, or warm white
- LED string lights with tiny skulls or bats if you find them
See Lights for Wreaths on Amazon #ad
7. Tools You’ll Need
- Hot glue gun & glue sticks
- Floral wire
- Wire cutters
- Scissors
- Hooks or a wreath hanger for your door
Find Wreath Making Supplies on Amazon #ad
Step-By-Step: How To Build Your Skull Christmas Wreath
Step 1: Prepare Your Wreath Base
Fluff, shape, or spread out the branches (if using pine). If using grapevine, check for loose pieces and trim as needed. This gives you a clean base to work with.
Step 2: Place Your Statement Skulls
Start with the largest skulls first so you can build around them.
- Add one large skull to the center or bottom-right corner for dramatic effect.
- Secure with floral wire or hot glue.
Step 3: Add Your Roses & Florals
Insert black and red roses around the wreath.
- Keep things visually balanced.
- Mix in branches or berries for texture.
Step 4: Fill in With Ornaments
Add ornaments of various sizes.
- Stick to your chosen color palette (black/red/white/silver).
- Use smaller ornaments to fill empty spaces.
Step 5: Add Lights (If Using)
Wrap your LED lights around the wreath, weaving them between skulls and florals.
- Hide the battery pack behind the wreath or under the bow.
Step 6: Attach Your Gothic Bow
Create a dramatic bow and attach it to the top or bottom.
Velvet, satin, or lace all add a romantic gothic touch.
Step 7: Final Touches
- Add mini skulls in open spots.
- Tuck in glitter branches for sparkle.
- Adjust everything until it feels balanced and bold.
Where to Display Your Skull Wreath
This wreath looks amazing on:
- Your front door
- A gothic home bar
- Your living room wall
- A fireplace mantle
- Above a gothic bookcase or altar
It creates the perfect dark holiday vibe for anyone who loves a little spooky magic in December.
Final Thoughts
Creating your own skull-themed Christmas wreath is a fun way to combine holiday cheer with gothic style. It’s bold, beautiful, and totally unique — just like you. Whether you go full black magic or add pops of classic Christmas red, your wreath will become a show-stopping piece of décor you’ll love year after year.